Define a catchment
Right click on your catchment outlet location on the map and select 'define catchment'.
The location of the catchment outlet will jump to the nearest point on the drainage network. Tip: Show the drainage network.
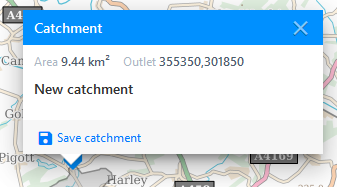
The catchment boundary will be displayed. If you're happy with the selected catchment, click on the catchment marker and select 'Save catchment'. You can edit the default catchment name if you wish.
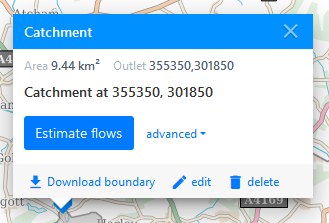
Once saved, you can estimate flows, download the catchment boundary (see below), edit the catchment name, and delete the catchment.
Upload a catchment
First you'll need to create a shapefile of the catchment boundary using GIS software of your choice. Zip all the files of the shapefile (the zip file must contain at least a .shp, an .shx and a .dbf file).
To upload this boundary, right click on the map (doesn't matter where) and select 'upload boundary'. Upload your zip file.
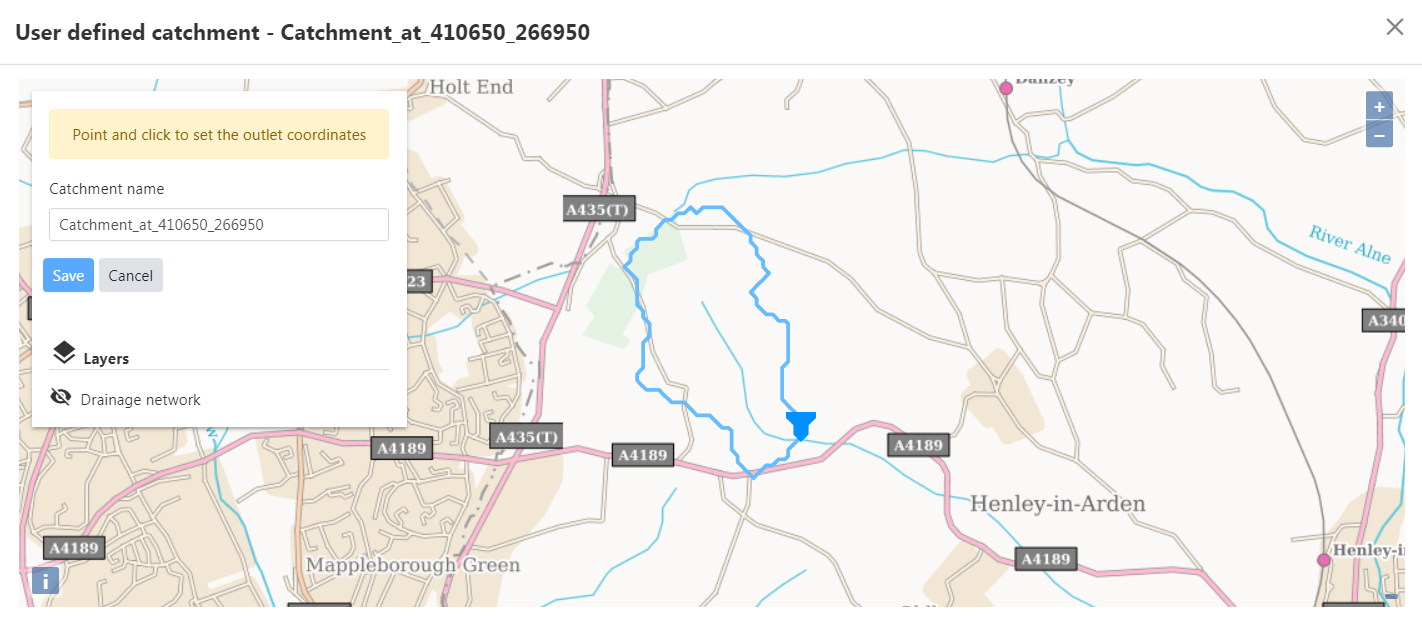
Once successfully uploaded, you will need to select the catchment outlet, confirm the catchment name (defaults to the name of the shapefile) and save. The catchment outlet icon moves around the boundary as you move your mouse over the map, so just left click when it's at the required location.
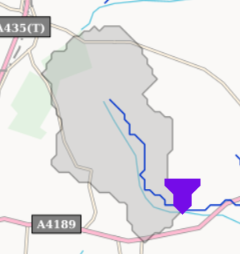
The user-defined catchment is then added to the map.
Edit a catchment or user-defined catchment
You can select any catchment outlet and select 'edit' to edit the name. This name will be visible to all users in your organisation. The delete option is only available for catchments you have defined or uploaded.
Download a catchment boundary
You can select any catchment outlet and select 'download boundary' to download a zip file containing a shapefile of the catchment boundary. The zip file and shapefile name default to that of the catchment.